O3D Treatment Planning Software Support
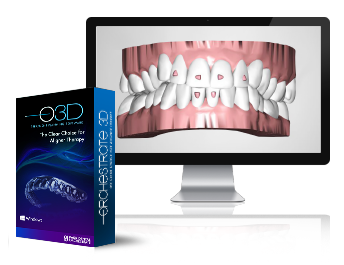
Orchestrate 3D has the right solution for your aligner therapy needs, we provide cutting edge technology to give you complete control over aligner therapy in your practice. From intraoral scanners, aligner treatment planning software, and 3D printing we have the entire process covered. If you are not ready to in-source the entire manufacturing process, we also provide treatment planning, aligner manufacturing, and other services.
 |
|
User Manual Download:
Download Orchestrate 3D Treatment Planning Software Manual (Version 7)
O3D Software - Segmentation - Data Processing - Model Prep
This portion of the work is usually handled by the staff:
Watch Model Prep Segmentation Video (O3D Version 7)
- Import (upload) raw STL scanned impressions
- Orient (models to snap views)
- Polyline cut-remove around each arch
- Tooth Segment (auto using AI)
- Use “deform” on the occlusal if any pink gum appears
- Treatment Plan Tab- Align Gyroscopes in "Manual Align"
- Upper arch in bottom view
- Lower arch in Top view
- Click the transparency icon on the lower right. Move the gum slider to the right to remove gum. Go to the export tab and click "hole" to fill in the teeth making them solid. Fix any MAJOR 'gold/yellow' areas.
O3D Software - Treatment Planning Support Video
Label and Export Printable STL Files:
- Click here to watch video - Treatment Planning - Label-Export Web Viewer
- Click here to watch video - Previous O3D Software Versions - Treatment Planning Training
Miscellaneous / Troubleshooting Support Videos
This portion of the work is usually handled by the staff:
O3D Patient Case Studies
Implant Dentistry

IMTEC Mini Dental Implant System
